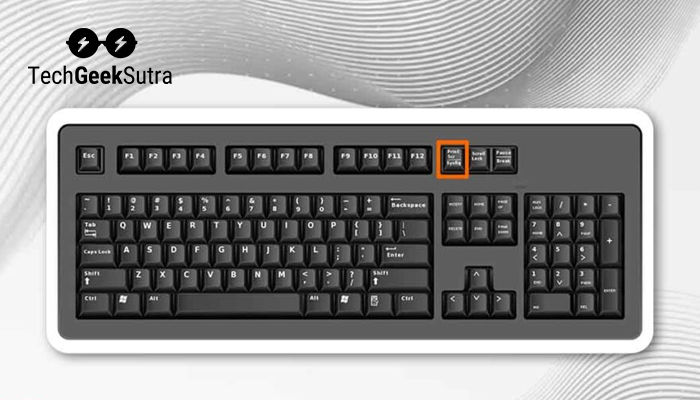
If you are using Windows 7 laptop or desktop then you can use snipping tool to take screenshot. For this follow the following method.
Using the Snipping Tool
- Click on the ‘Start’ button in the bottom left-hand corner of the computer or laptop screen or press the Windows key on the keyboard.
- Type ‘Snipping Tool’ in the search box and open it
- You can do the same setting as you want to take screenshot by clicking on the drop down arrow next to the new option.
- Select this option for ‘Rectangular snip’
- Now on your computer screen from where you want to capture the screen, click with the mouse and move the cursor to the bottom
- Full screen means to take screenshot of the whole screen, select the option of full snip from the drop down of snipping tool.
In this way you can easily take screenshot.


